Shoot Your Movie
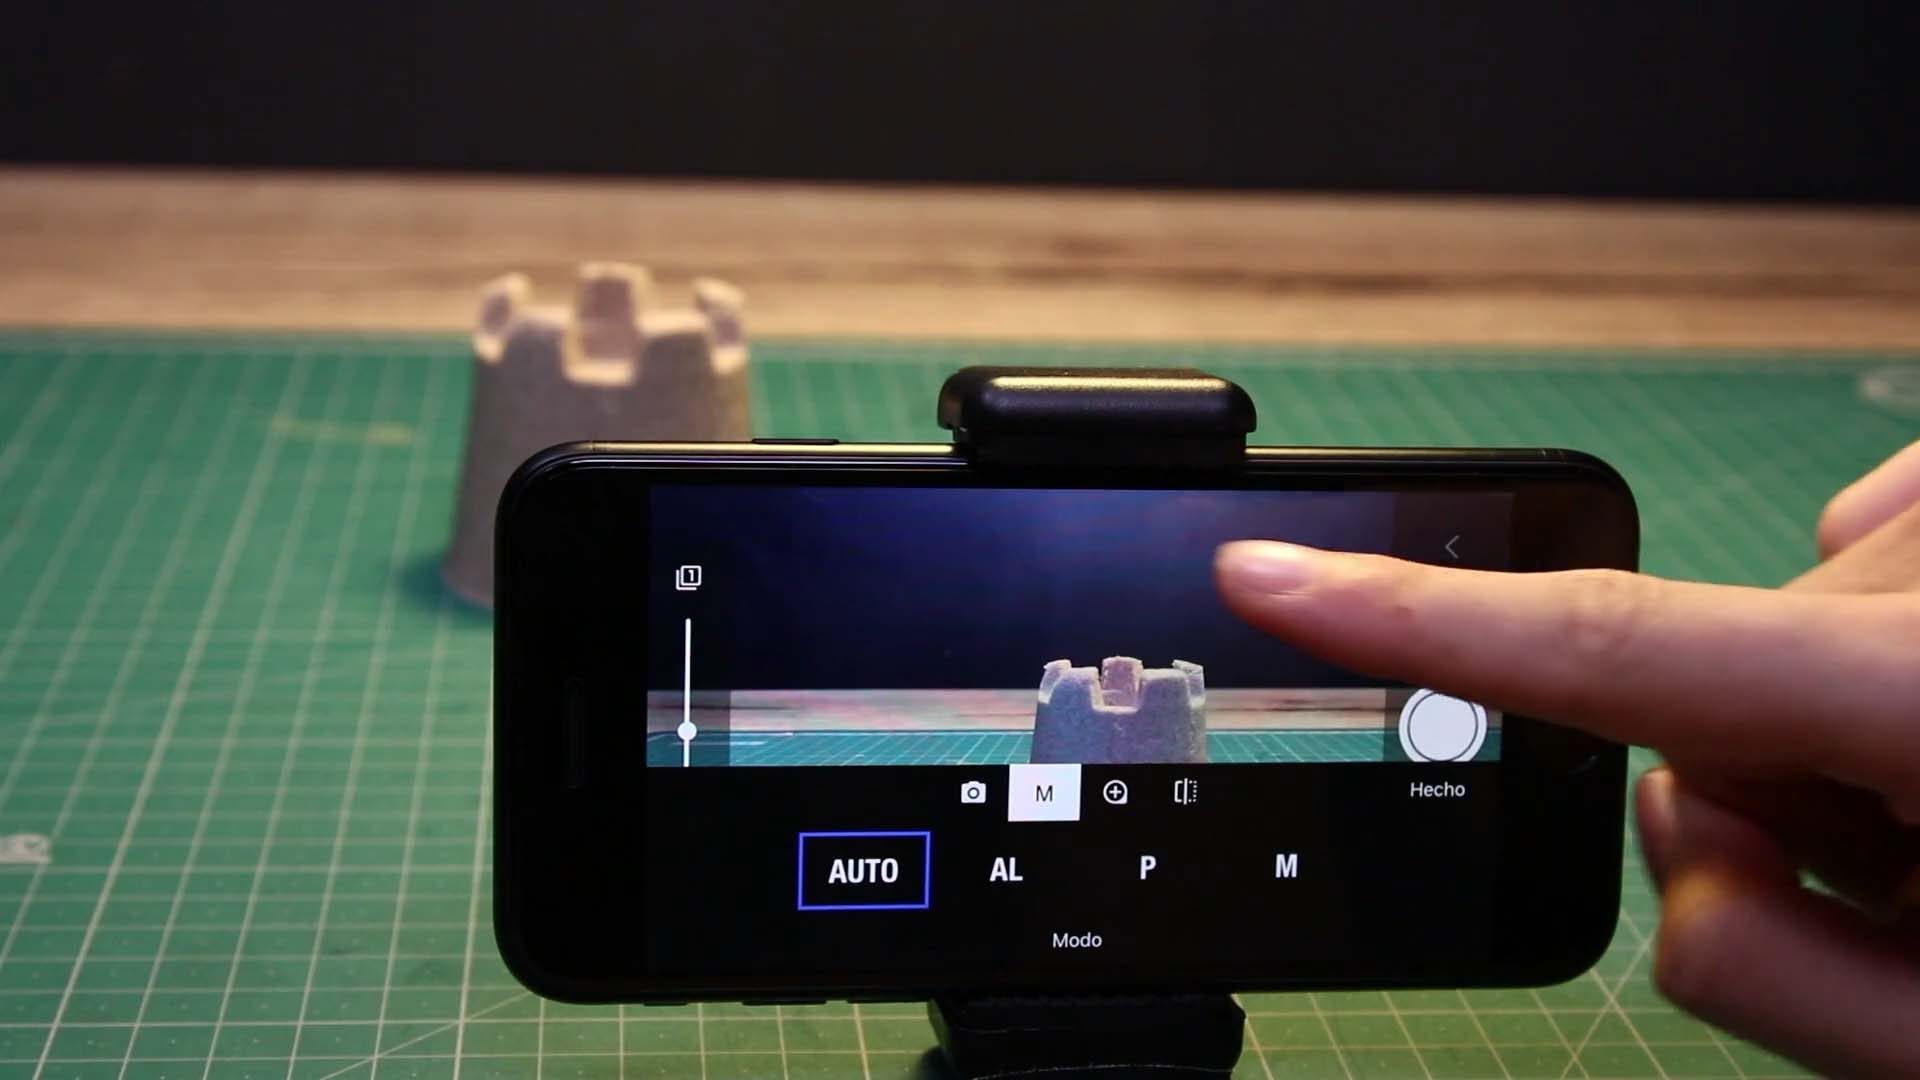
Adjusting Camera Settings
The camera settings menu in Stop Motion Studio offers a range of options to tailor the camera to your specific requirements. Here’s how you can adjust various camera settings to achieve the desired results:
Camera Selection
: Choose the camera device for capturing the next image. Select from available options such as built-in camera, external webcam, DSLR camera, or Remote Camera for Stop Motion Studio.
Exposure Compensation
: Fine-tune exposure bias to darken or lighten the image. Lower values darken the image, while higher values lighten it.
White Balance
: Adjust white balance temperature to create cooler or warmer images, depending on your preferences.
Focus
: Modify focus settings to sharpen or blur objects in the scene, adjusting for distance and depth.
ISO
: Control the light sensitivity of the camera sensor. Lower values reduce sensitivity, while higher values increase it. Adjust ISO and shutter speed in low-light conditions to reduce image noise.
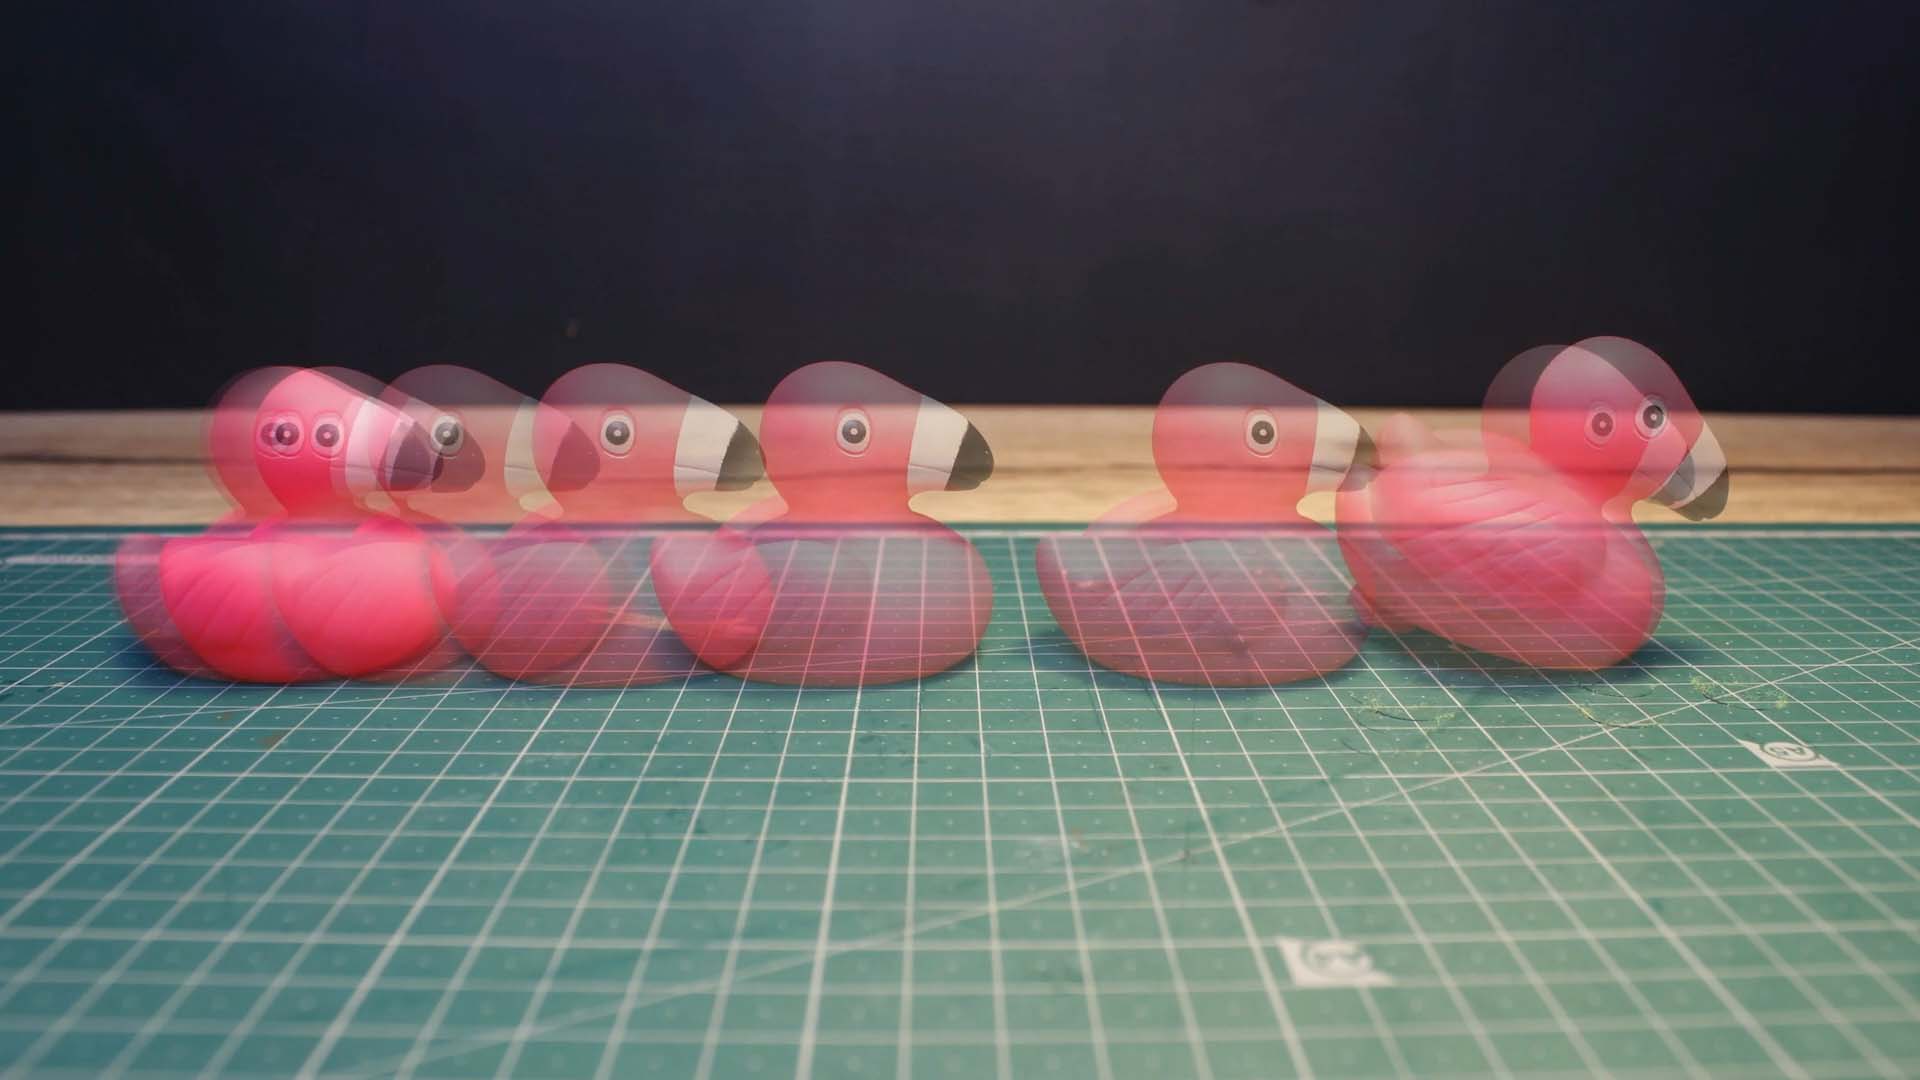
Shutter Speed
: Determine exposure time of the image sensor. Faster shutter speeds expose the sensor for shorter durations, while slower speeds expose it for longer. Combine ISO and shutter speed adjustments for optimal exposure.
Aperture
: Manage the amount of light passing through the camera lens to control exposure.
Zoom
: Adjust zoom level to frame your scene effectively, zooming in or out as needed.
Green Screen
: Activate the green screen filter for background alterations, allowing you to replace or modify the background as desired.
Mirror
: Flip, mirror, or rotate the camera view to achieve different perspectives.
TIP: Using a remote shutter, minimizing the risk of movement. Additionally, consider using the Remote Camera feature to capture images using a second device for added convenience.
—
Depending on your device’s camera hardware, some options may not be available.